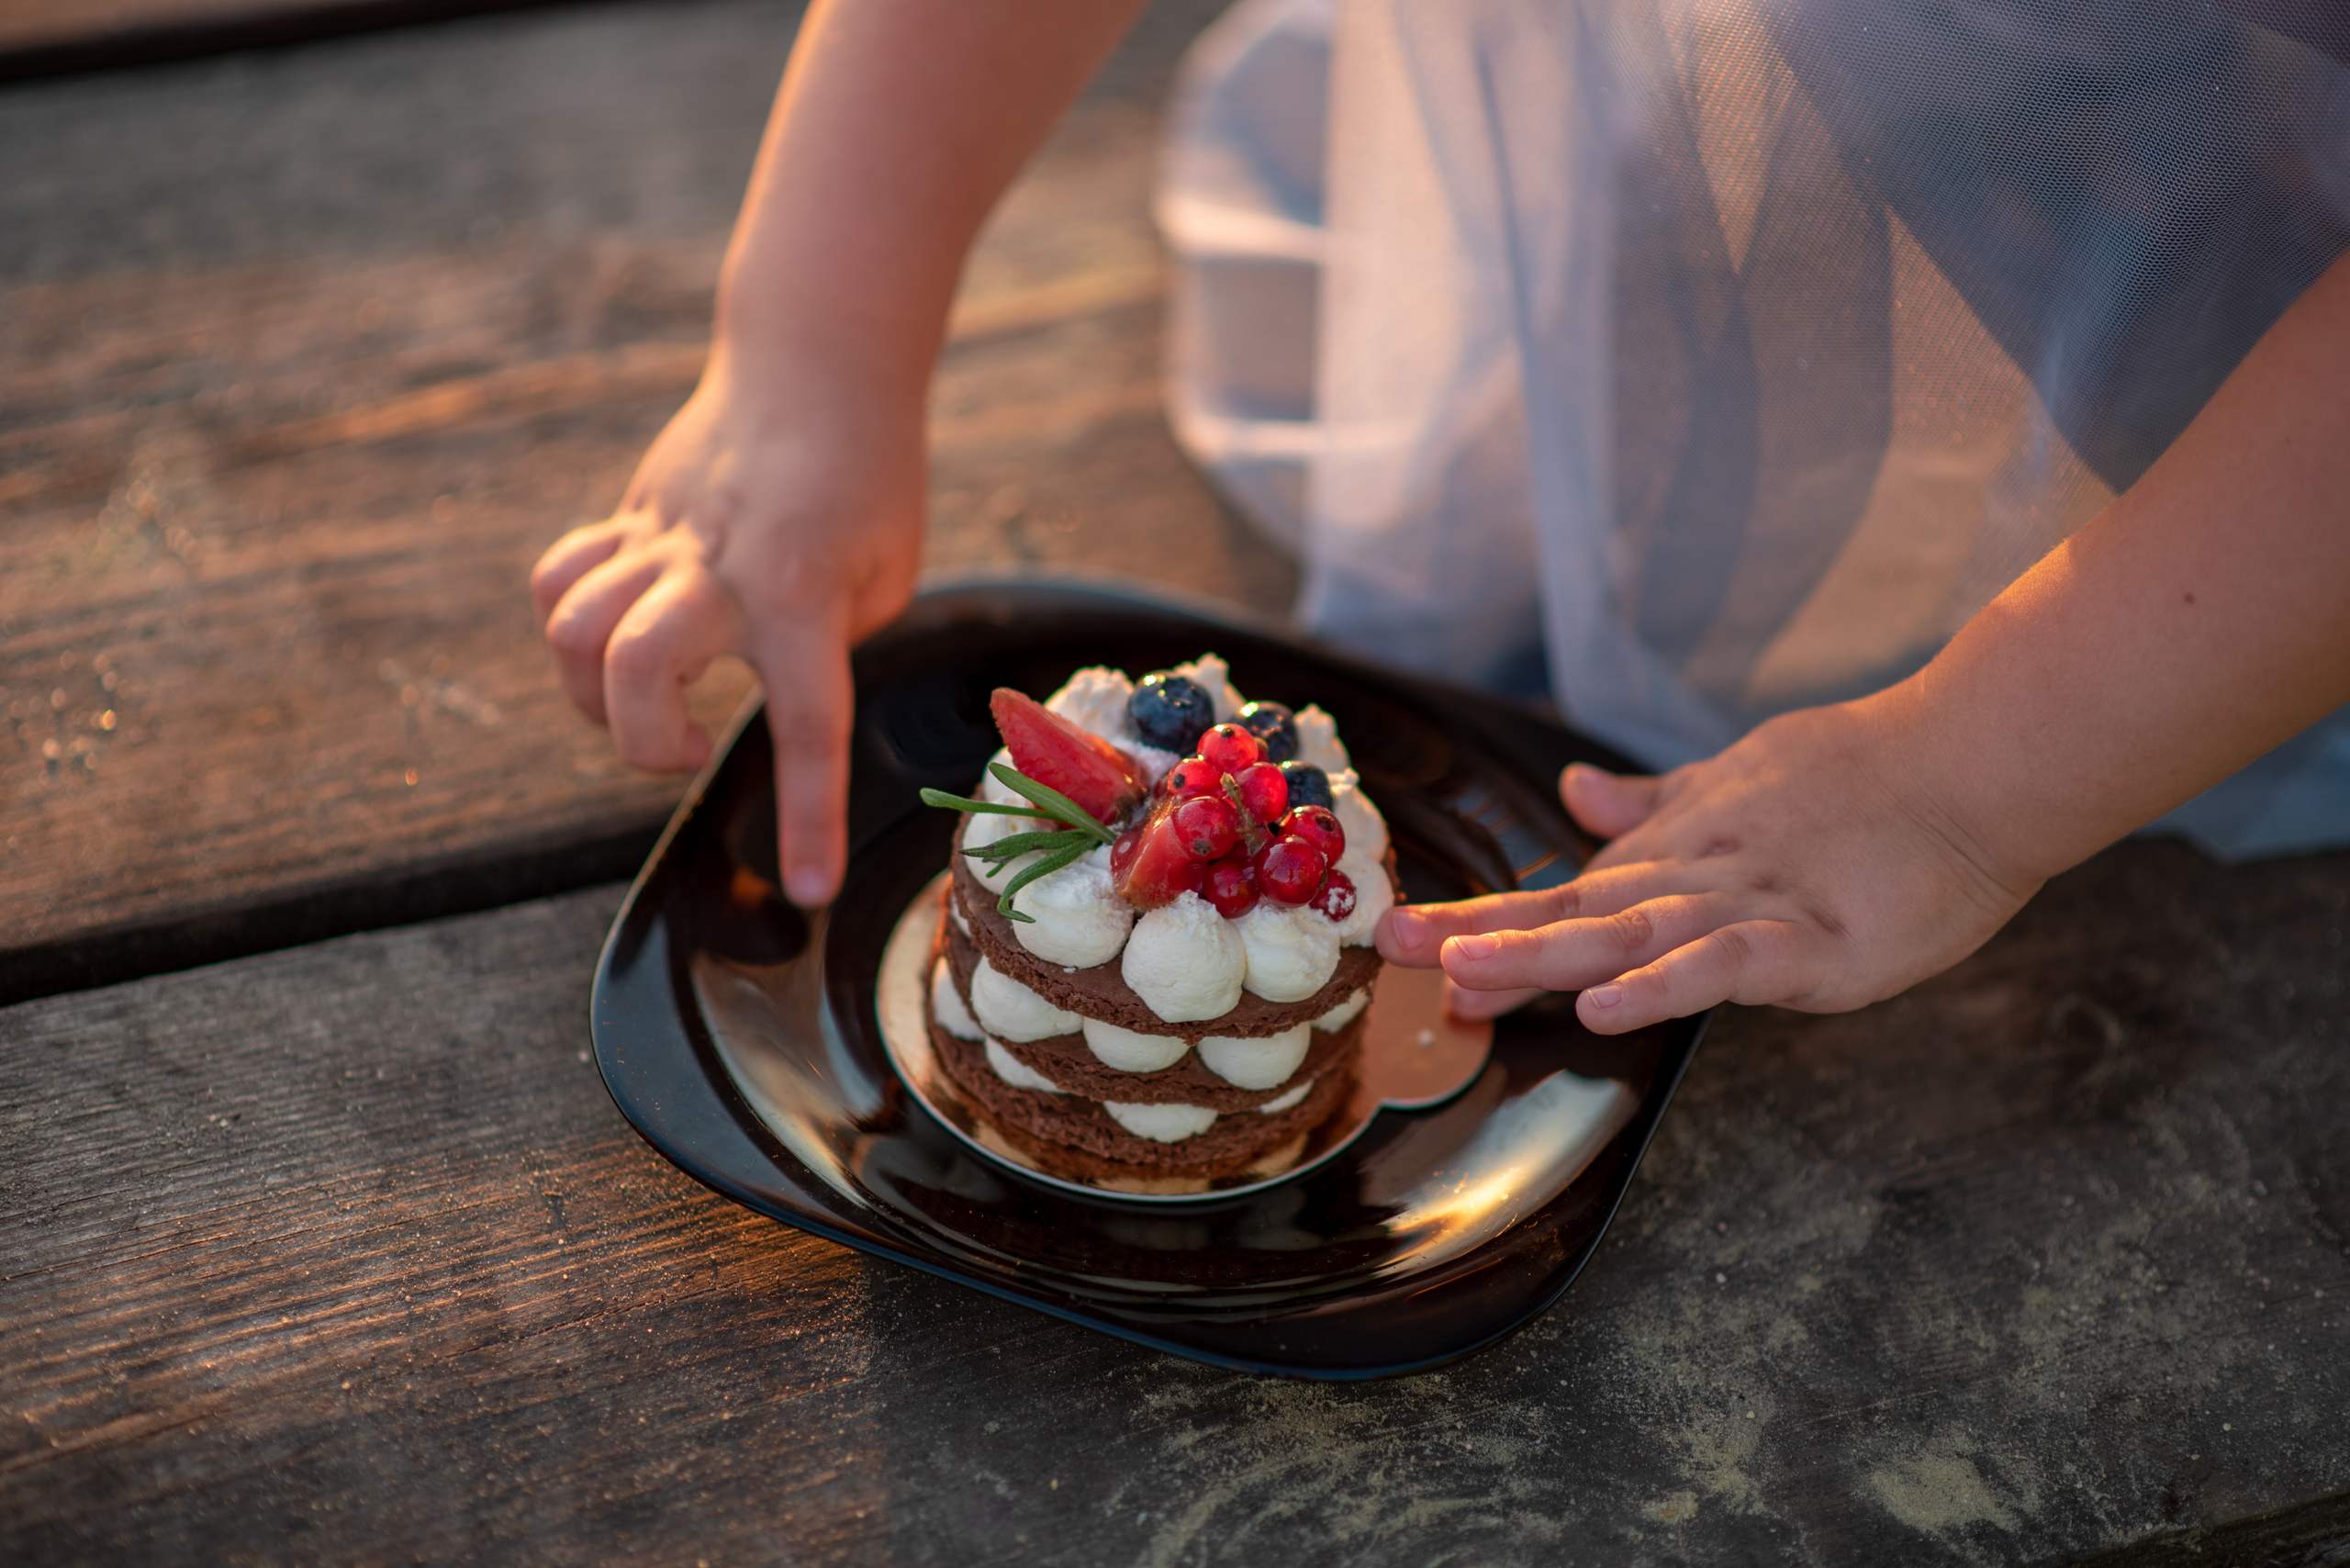
Cake piping is one of the most flexible techniques in baking. With just a piping bag, some properly whipped frosting, and a couple of essential techniques, you can make elaborate borders, flowers, letters, and intricate designs.
When you’re new to the art, it’s easy to feel overwhelmed. But you don’t have to have dozens of tips or sophisticated methods to get started. Just a few foundational ideas will go a long way.
Pick the Right Frosting Texture
Before you start piping, check the texture of your frosting.
Too soft, and it won’t hold its shape. Too thick, and it will be hard to pipe.
Test It Out
Pipe a little bit onto a sheet of parchment paper or a plate. If it holds its shape but comes out smoothly, you’re good to go.
This simple test will save you from ruining half of your frosting when you realize it’s the wrong texture.
Pick a Piping Tip
Different tips create different designs. When you’re starting out, you don’t need a ton of them.
You only need a few basic ones to learn the most common techniques:
- Round tips are great for dots, lines, and simple details.
- Star tips are perfect for rosettes, shells, swirls, and borders.
- Petal tips are ideal for flower petals and delicate decorations.
Pick one or two tips and learn how they work before getting more.
Grip the Piping Bag Properly
Grip the top of the piping bag with your dominant hand, and guide the tip with your other hand if needed.
Push evenly, instead of pushing and releasing.
Even Pressure Is Key
If you’re uneven with your pressure, your design will be uneven, too. Push evenly and slowly.
Try piping dots, lines, and small shells onto parchment paper before decorating the cake.
Learn the Basic Shapes
The bulk of cake piping starts with a handful of basic shapes.
Practice making:
Dots — Squeeze, stop, and pull straight up.
Lines — Squeeze evenly and slowly move the tip across the frosting.
Shells — Squeeze, move forward slightly, release pressure, and release.
Swirls — Push evenly and move the tip in a circle.
These basic shapes can be combined to make many more complex designs.
Work on Borders
Borders are a great place to start because they require you to push evenly and move evenly.
Try making a simple shell or dot border around the edge of the cake.
It probably won’t look great the first time. Don’t worry. The goal is to keep it even, not perfect.
Experiment With Simple Flowers
After you’re comfortable with the basics, try making flowers.
A petal tip can make beautiful flowers using very few movements. Start small.
Make the Flowers in Stages
First make the center, then add petals. Focus on keeping the angle and pressure even.
From there, you can experiment with different petal shapes and sizes.
Stay Loose
If you’re tensed up, you’ll push too hard and it will show. If you’re squeezing the bag too hard, relax your hands. It doesn’t take force to pipe beautifully; it takes control.
Wrapping Up
It’s all about repetition. Start with the basics, play around with tips, and practice on parchment paper before doing your cake. Once you get a handle on the pressure and movement, you can combine shapes to make beautiful designs. Your piping bag might seem small, but it can turn into your whole cake decorating arsenal with practice.